V4 Webhooks
What’s a Webhook?
A webhook is a push-style HTTP callback that Frame.io fires as soon as something interesting happens in your account (e.g., a new file finishes transcoding, a comment is added, a project is created). Instead of polling the API, you supply a public HTTPS URL; Frame.io sends a JSON payload to that URL in real time so you can:
For more on what a webhook is, and what it does, see https://docs.webhook.site/.
Endpoint Overview
Authentication — All V4 endpoints require an OAuth 2.0 access token obtained through the Adobe Developer Console. Legacy developer tokens and JWTs are not accepted.
Changes and Updates in Frame V4
Webhooks created in Legacy transfer to V4 with the following changes:
- Payload Structure: Added Account ID to the payload
- Endpoint Changes: The
team_idis no longer provided in the JSON payload, but is instead in the path parameter of the URL:https://api.frame.io/v4/accounts/:account_id/workspaces/:workspace_id/webhooks - API Integration: Due to changes in API structure, endpoints, and authentication methods, any existing code for incoming webhooks that makes subsequent calls to the Frame.io API for enrichment and look-up of resources require updating
- Event Types: Asset webhooks have been split into separate File and Folder events - any webhooks coming from Legacy with asset events need to be updated to have the appropriate File and Folder events
Webhook Status After Migration — When your account migrates to Frame.io V4, existing webhooks from previous versions are automatically disabled. This ensures you can modify your webhook endpoints and integration logic to work with V4’s updates before reactivating them. Webhooks that haven’t been updated for V4 compatibility will encounter errors if enabled without proper modifications. You can verify which webhooks are inactive by examining the is_active field through the API or by reviewing your webhook settings before turning them back on.
Webhook Event Subscriptions
When creating and updating webhooks identify which events you’re interested in. Choose as few or as many as you’d like, note that the experience is better if you subscribe to fewer events, splitting up your webhooks logically with different naming schemes and different endpoints so that you can model your business logic on the receiving end to do less filtering and routing in shared functions.
Event scope — All events are scoped to the Workspace provided during the creation of the webhook. This means events will be sent for actions taken in all projects in that Workspace.
Projects
Files
Folders
Comments
Metadata
Collections
Custom Fields
Shares
Webhook Message Payload
All webhook payloads contain a type field, indicating the event that occurred, and a resource object. The resource object contains the type and ID of the Frame.io resource related to the event.
Example Payload
In the above example of a file.created event, the resource.id indicates the ID of the newly created File. Additionally, workspace, project, and user objects are included, which contain the related workspace.id, project.id and user.id. These values can be used to reduce API calls by filtering incoming events or looking up cached data locally.
We do not include any additional information beyond the resource ID about the subscribed resource.
If your application requires additional information or context, we recommend making an API call to look-up more information about the resources being referenced.
Security
By default, all webhooks have a signing key. This non-configurable signing secret can be used to verify that the request originates from Frame.io.
The response payload for the webhook you’ve configured includes the signing secret specific to this webhook. This secret is only provided in this initial webhook create response, so store it somewhere safe in your secrets storage or environment variables. Use it later to verify the webhook is coming directly from our servers and was not intercepted or manipulated in any way.
Verifying Webhook Signatures
To guard an integration against man-in-the-middle and replay attacks it is essential to verify the signature of the webhook payload. Verification ensures that webhook payloads were actually sent by Frame.io and payload content has not been modified in transport.
Included with the POST request are the following HTTP headers:
The timestamp is the system time from Frame.io’s systems when the outbound webhook is sent. This can be used to prevent replay attacks. We recommended verifying this time is within 5 minutes of local time.
The signature is a HMAC SHA256 hash using the signing key provided when the Webhook is first created.
Follow these steps to verify the signature:
The provided signature is prefixed with v0=. Currently Frame.io only has this one version for signing requests. Be sure this prefix is prepended to your computed signature.
Retries and Logging
- Five total attempts (initial + 4 retries)
- Exponential back-off starting at 15 s (+ jitter)
- A non-
2xxstatus or >5 second timeout triggers the retry
Frame.io keeps a failure log with: webhook_id, account_id, event_type, resource_id, user_id.
Webhook Tutorial
Step 1: Setup receiving end (done first so that you know what your URL will be)
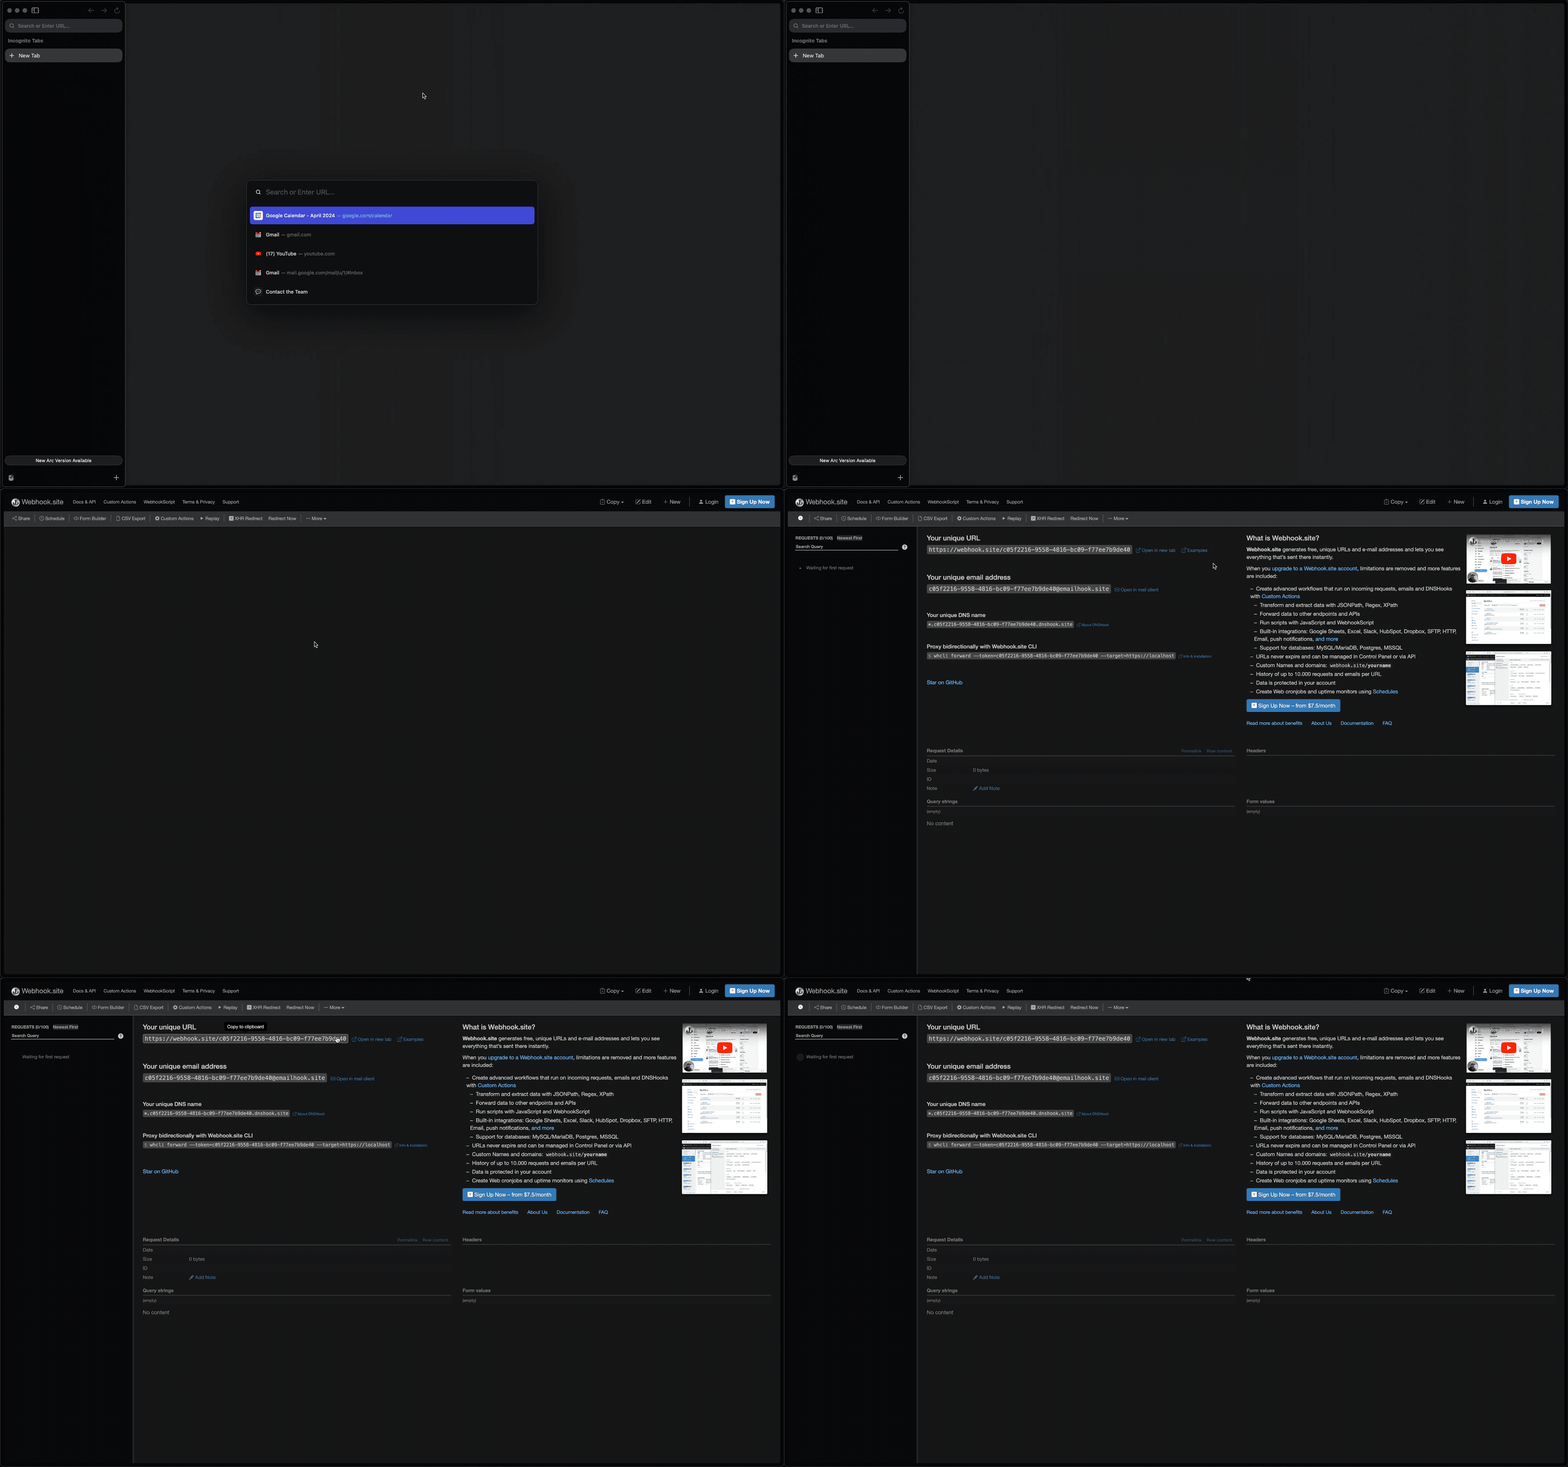
Here, we’re using webhook.site which allows you to easily spin up a single-use webhook receiver that can be used for inspecting payloads, sending basic responses without any actual business logic. When you first navigate to https://webhook.site, a unique webhook endpoint is created for you which you can copy right away to use.
This URL is unique to your session.

Step 2: Choose the event(s) you want to subscribe to
For this tutorial, we’ll keep it simple and setup this webhook to just subscribe to file.created events. The JSON payload we’ll use for the webhook creation will be as follows.
Step 3: Create a webhook resource using Postman
Using Postman, make an API call to create the webhook resource, supplying the webhook.site endpoint in the payload.
Step 4: Test!
Now that you’ve created the webhook subscription and have an endpoints setup to receive webhooks, it’s time to test it out by triggering the first webhook by performing the appropriate action that would cause it to fire!
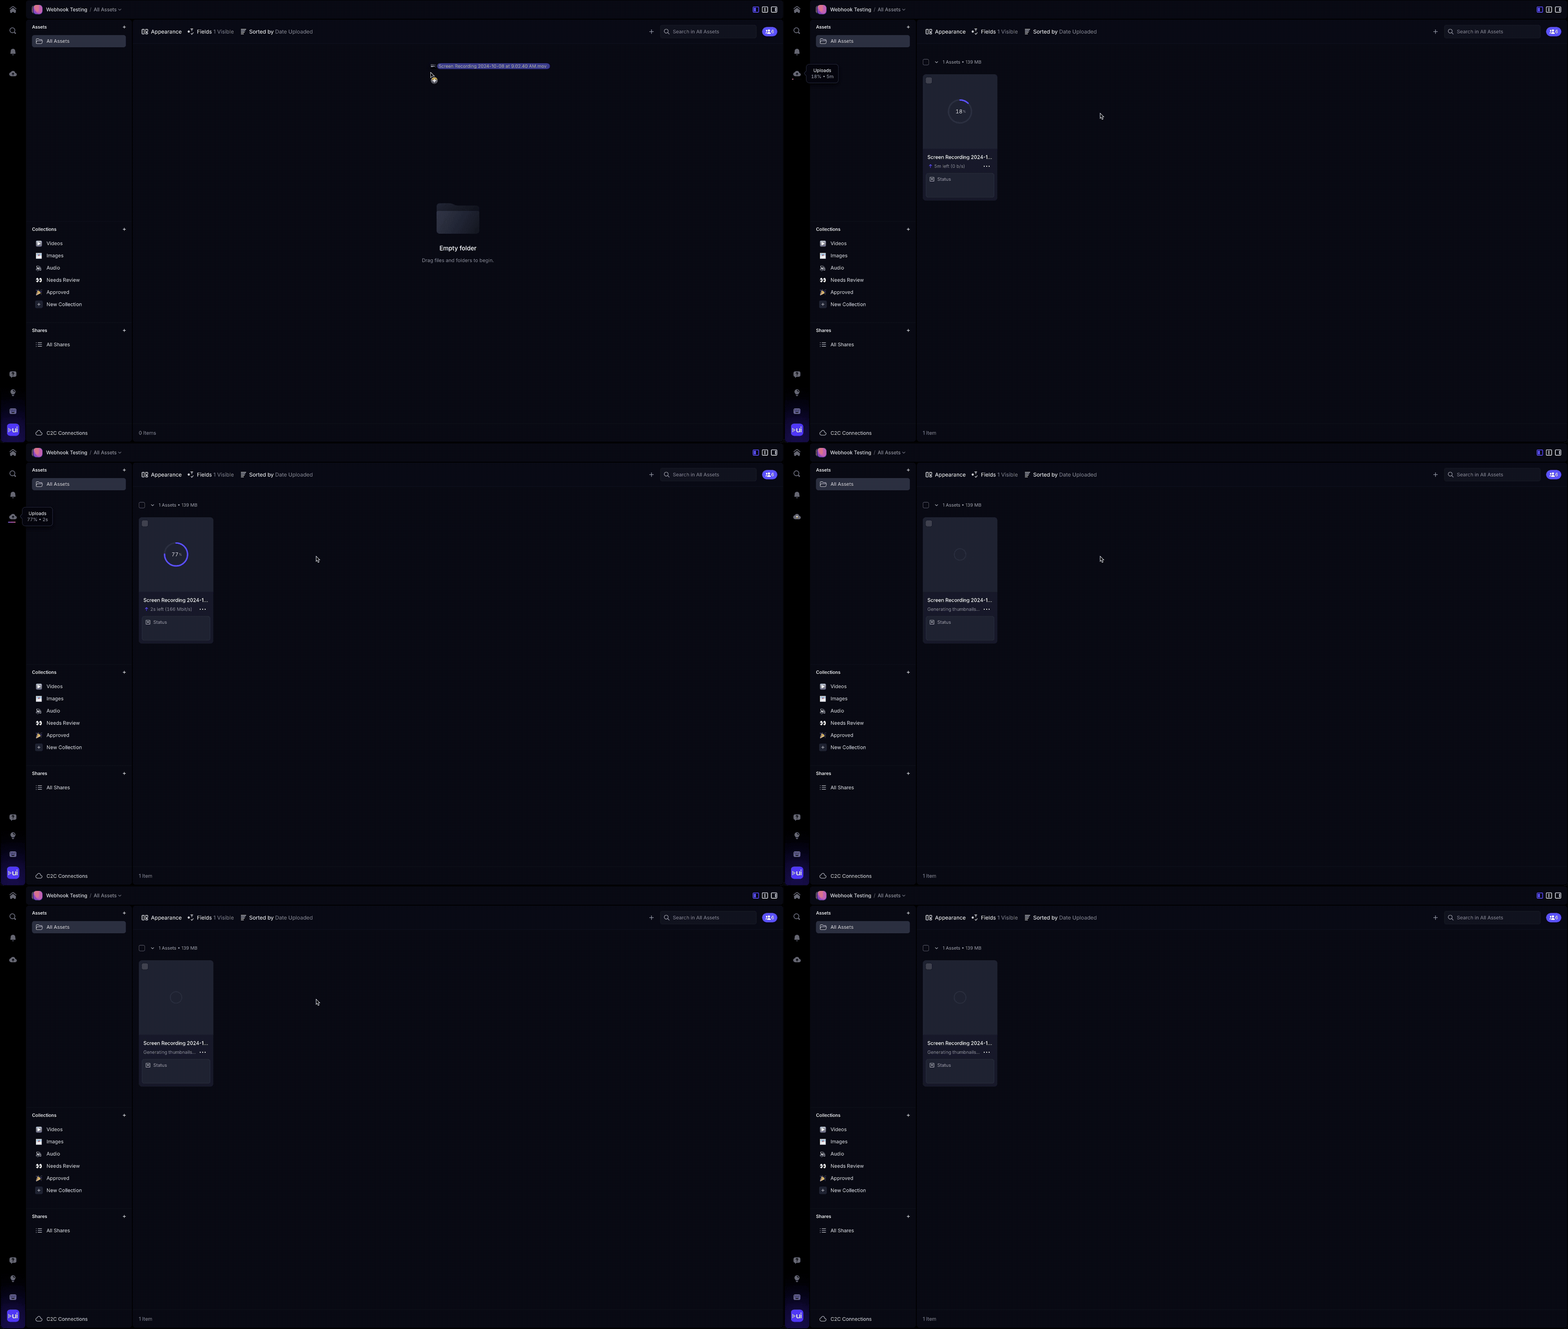
Since our sample was set up to trigger on the file.created trigger, we’ll go ahead and upload a new asset into any Project within the corresponding Account and Workspace that the webhook was set up in.

Additional Resources
Ngrok is a fantastic tool for developers working with webhooks that need to be exposed on a publicly accessible URL. It creates secure tunnels from your local environment to the internet, allowing you to expose your local server to receive webhook payloads in real-time.
Hookdeck is a platform designed to help teams manage webhooks reliably by providing a robust event gateway. It centralizes webhook handling, ensuring no events are missed, and offers features such as filtering, queuing, and retrying failed webhooks.
Webhook.site is an outstanding tool for prototyping and testing webhooks, offering a simple yet powerful platform to capture and inspect HTTP requests sent to unique, auto-generated URLs.
Val.town is an excellent tool for quickly prototyping webhook handlers because it simplifies the process of writing, testing, and deploying small JavaScript and Python functions directly from the browser.